Exploring Three.js Geometries: The Building Blocks of 3D

Hi 👋, I am Dipankar Paul, aspiring Full Stack Developer with a passion for learning new technologies. Currently, I am learning my front-end development and full-stack development through Apna College Delta. With a passion for creating innovative and user-friendly applications, I am excited to continue my journey in the tech industry.
Welcome back to my Three.js learning journey! 👋 In my previous post, I covered the basics of setting up a Three.js scene. Today, I'm diving deeper into geometries - the fundamental shapes that form every 3D object you see on the web.
Think of geometries like LEGO pieces. Each piece has a different shape, but they all work the same way - you attach them to materials, position them in your scene and you've got 3D objects.
What Are Geometries?
In Three.js, a geometry defines the shape of a 3D object. It's essentially a collection of:
Vertices (points in 3D space)
Faces (triangles connecting those points)
Three.js provides many built-in geometries that cover most use cases. Today, we'll explore four essential shapes and understand when to use each one.
Project Setup
Before we jump into different geometries, here's our basic HTML structure:
<!DOCTYPE html>
<html lang="en">
<head>
    <meta charset="UTF-8">
    <meta name="viewport" content="width=device-width, initial-scale=1.0">
    <title>Three.js Geometries Gallery</title>
    <style>
        body {
            margin: 0;
            overflow: hidden;
            font-family: Arial, sans-serif;
        }
        canvas {
            display: block;
        }
        #info {
            position: absolute;
            top: 20px;
            left: 20px;
            color: white;
            background: rgba(0, 0, 0, 0.7);
            padding: 15px;
            border-radius: 8px;
            font-size: 14px;
        }
    </style>
</head>
<body>
    <canvas id="canvas"></canvas>
    <div id="info">
        <strong>Geometries Gallery</strong><br>
    </div>
    <script type="module" src="script.js"></script>
</body>
</html>
Building Our Geometry Gallery
Now let's create a gallery showcasing different Three.js geometries. I'll arrange them in a nice grid pattern so we can see them all at once!
Step 1: Scene Setup
import * as THREE from "three";

const canvas = document.getElementById("canvas");

// Scene setup
const scene = new THREE.Scene();
scene.background = new THREE.Color(0x1a1a1a); // Dark background

// Camera setup
const camera = new THREE.PerspectiveCamera(
    75, // Field of view
    window.innerWidth / window.innerHeight, // Aspect ratio
    0.1, // Near clipping plane
    1000 // Far clipping plane
);
camera.position.set(0, 3, 12); // Position camera to see all objects
camera.lookAt(0, 0, 0); // Look at center of scene
Step 2: Lighting Setup
// Ambient light - provides base illumination for all objects
const ambientLight = new THREE.AmbientLight(0xffffff, 0.4);
scene.add(ambientLight);

// Directional light - acts like sunlight from a specific direction
const directionalLight = new THREE.DirectionalLight(0xffffff, 0.8);
directionalLight.position.set(5, 10, 5);
scene.add(directionalLight);

// Point light - adds a colored accent light
const pointLight = new THREE.PointLight(0x00ffff, 0.5);
pointLight.position.set(-5, 5, 5);
scene.add(pointLight);
Step 3: Creating Different Geometries
Now for the fun part - let's create four essential geometry types!
// ============================================
// SPHERE GEOMETRY - Perfect for balls, planets, bubbles
// ============================================
const sphereGeometry = new THREE.SphereGeometry(
1, // radius
32, // widthSegments (more = smoother)
32 // heightSegments (more = smoother)
);
const sphereMaterial = new THREE.MeshStandardMaterial({
color: 0xff6b6b,
metalness: 0.3,
roughness: 0.4
});
const sphere = new THREE.Mesh(sphereGeometry, sphereMaterial);
sphere.position.set(-4.5, 0, 0); // Position on the left
scene.add(sphere);
// ============================================
// CYLINDER GEOMETRY - Great for pillars, cans, tubes
// ============================================
const cylinderGeometry = new THREE.CylinderGeometry(
1, // radiusTop
1, // radiusBottom
2, // height
32 // radialSegments (more = smoother circular edge)
);
const cylinderMaterial = new THREE.MeshStandardMaterial({
color: 0x4ecdc4,
metalness: 0.5,
roughness: 0.3
});
const cylinder = new THREE.Mesh(cylinderGeometry, cylinderMaterial);
cylinder.position.set(-1.5, 0, 0); // Position center-left
scene.add(cylinder);
// ============================================
// CONE GEOMETRY - Perfect for traffic cones, mountains, party hats
// ============================================
const coneGeometry = new THREE.ConeGeometry(
1, // radius of base
2, // height
32 // radialSegments
);
const coneMaterial = new THREE.MeshStandardMaterial({
color: 0xffe66d,
metalness: 0.2,
roughness: 0.6
});
const cone = new THREE.Mesh(coneGeometry, coneMaterial);
cone.position.set(1.5, 0, 0); // Position center-right
scene.add(cone);
// ============================================
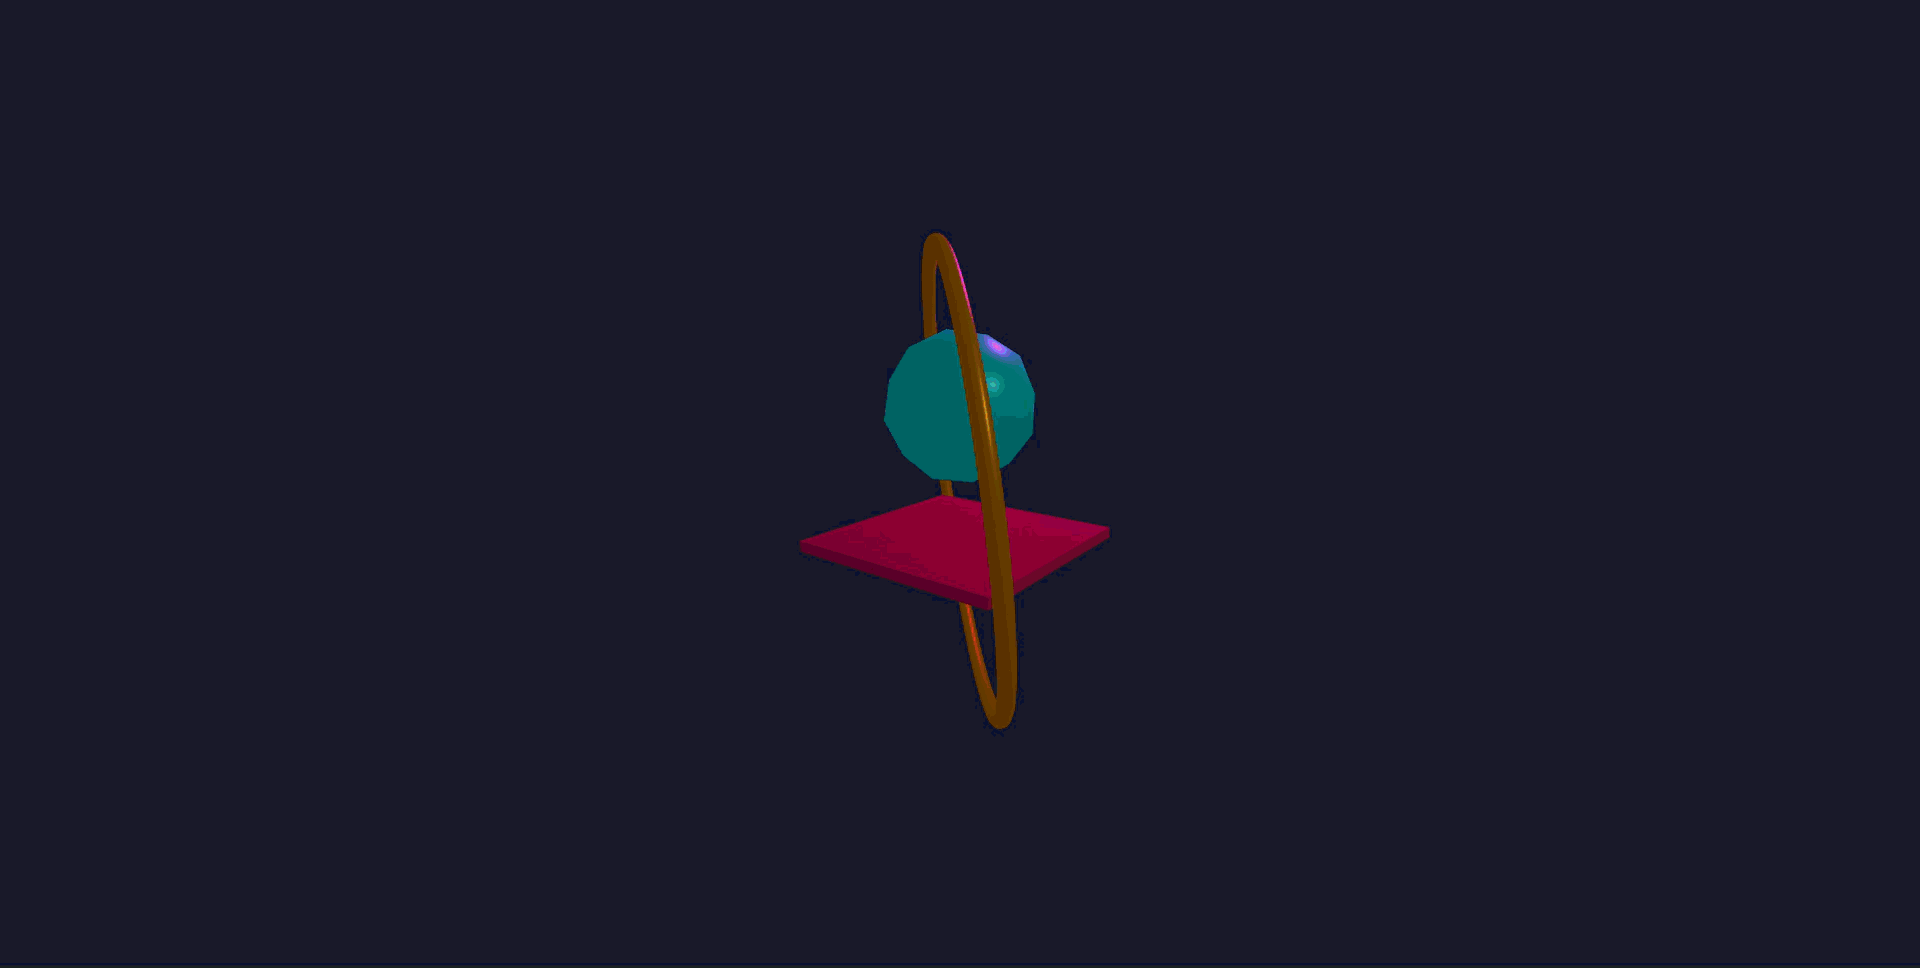
// TORUS GEOMETRY - Donut shape, great for rings, hoops
// ============================================
const torusGeometry = new THREE.TorusGeometry(
1, // radius of torus (donut size)
0.4, // tube radius (thickness of donut)
16, // radialSegments
100 // tubularSegments (smoothness around the tube)
);
const torusMaterial = new THREE.MeshStandardMaterial({
color: 0xa8e6cf,
metalness: 0.6,
roughness: 0.2
});
const torus = new THREE.Mesh(torusGeometry, torusMaterial);
torus.position.set(4.5, 0, 0); // Position on the right
scene.add(torus);
Understanding Geometry Parameters
Let me break down what those numbers in each geometry mean and when you'd adjust them:
SphereGeometry(radius, widthSegments, heightSegments)
radius: Size of the sphere
widthSegments/heightSegments: Higher numbers = smoother sphere, but more performance cost
Use for: Planets, balls, bubbles, orbs
CylinderGeometry(radiusTop, radiusBottom, height, radialSegments)
radiusTop/radiusBottom: Make them different to create tapered shapes!
height: How tall the cylinder is
radialSegments: Higher = smoother circular edges
Use for: Pillars, cans, tubes, tree trunks
ConeGeometry(radius, height, radialSegments)
radius: Base size
height: How tall the cone is
radialSegments: Smoothness of the base circle
Use for: Party hats, mountains, traffic cones, arrowheads
TorusGeometry(radius, tube, radialSegments, tubularSegments)
radius: Overall donut size
tube: Thickness of the donut ring
radialSegments/tubularSegments: Smoothness
Use for: Rings, hoops, tire shapes
Step 4: Adding a Reference Grid
Let's add a grid to help visualize the 3D space:
// Grid helper - shows the ground plane
const gridHelper = new THREE.GridHelper(20, 20, 0x444444, 0x222222);
gridHelper.position.y = -3;
scene.add(gridHelper);
Step 5: Renderer Setup
// Create renderer
const renderer = new THREE.WebGLRenderer({
    canvas: canvas,
    antialias: true // Smooth edges
});
renderer.setPixelRatio(window.devicePixelRatio);
renderer.setSize(window.innerWidth, window.innerHeight);
Step 6: Animation Loop
// Animation loop - rotate all objects for better viewing
function animate() {
    requestAnimationFrame(animate);

    // Rotate all geometries on multiple axes
    const time = Date.now() * 0.001; // Convert to seconds

    sphere.rotation.x = time * 0.5;
    sphere.rotation.y = time * 0.7;

    cylinder.rotation.x = time * 0.3;
    cylinder.rotation.y = time * 0.5;

    cone.rotation.x = time * 0.4;
    cone.rotation.y = time * 0.6;

    torus.rotation.x = time * 0.6;
    torus.rotation.y = time * 0.4;

    renderer.render(scene, camera);
}

animate();

// Handle window resize
window.addEventListener('resize', () => {
    camera.aspect = window.innerWidth / window.innerHeight;
    camera.updateProjectionMatrix();
    renderer.setSize(window.innerWidth, window.innerHeight);
});
Complete Code
Here's the full code altogether:
import * as THREE from "three";

const canvas = document.getElementById("canvas");

// Scene setup
const scene = new THREE.Scene();
scene.background = new THREE.Color(0x1a1a1a);

// Camera setup
const camera = new THREE.PerspectiveCamera(
    75,
    window.innerWidth / window.innerHeight,
    0.1,
    1000
);
camera.position.set(0, 3, 12);
camera.lookAt(0, 0, 0);

// Lighting
const ambientLight = new THREE.AmbientLight(0xffffff, 0.4);
scene.add(ambientLight);

const directionalLight = new THREE.DirectionalLight(0xffffff, 0.8);
directionalLight.position.set(5, 10, 5);
scene.add(directionalLight);

const pointLight = new THREE.PointLight(0x00ffff, 0.5);
pointLight.position.set(-5, 5, 5);
scene.add(pointLight);

// SPHERE
const sphereGeometry = new THREE.SphereGeometry(1, 32, 32);
const sphereMaterial = new THREE.MeshStandardMaterial({
    color: 0xff6b6b,
    metalness: 0.3,
    roughness: 0.4
});
const sphere = new THREE.Mesh(sphereGeometry, sphereMaterial);
sphere.position.set(-4.5, 0, 0);
scene.add(sphere);

// CYLINDER
const cylinderGeometry = new THREE.CylinderGeometry(1, 1, 2, 32);
const cylinderMaterial = new THREE.MeshStandardMaterial({
    color: 0x4ecdc4,
    metalness: 0.5,
    roughness: 0.3
});
const cylinder = new THREE.Mesh(cylinderGeometry, cylinderMaterial);
cylinder.position.set(-1.5, 0, 0);
scene.add(cylinder);

// CONE
const coneGeometry = new THREE.ConeGeometry(1, 2, 32);
const coneMaterial = new THREE.MeshStandardMaterial({
    color: 0xffe66d,
    metalness: 0.2,
    roughness: 0.6
});
const cone = new THREE.Mesh(coneGeometry, coneMaterial);
cone.position.set(1.5, 0, 0);
scene.add(cone);

// TORUS
const torusGeometry = new THREE.TorusGeometry(1, 0.4, 16, 100);
const torusMaterial = new THREE.MeshStandardMaterial({
    color: 0xa8e6cf,
    metalness: 0.6,
    roughness: 0.2
});
const torus = new THREE.Mesh(torusGeometry, torusMaterial);
torus.position.set(4.5, 0, 0);
scene.add(torus);

// Grid helper
const gridHelper = new THREE.GridHelper(20, 20, 0x444444, 0x222222);
gridHelper.position.y = -3;
scene.add(gridHelper);

// Renderer
const renderer = new THREE.WebGLRenderer({
    canvas: canvas,
    antialias: true
});
renderer.setPixelRatio(window.devicePixelRatio);
renderer.setSize(window.innerWidth, window.innerHeight);

// Animation loop
function animate() {
    requestAnimationFrame(animate);

    const time = Date.now() * 0.001;

    sphere.rotation.x = time * 0.5;
    sphere.rotation.y = time * 0.7;

    cylinder.rotation.x = time * 0.3;
    cylinder.rotation.y = time * 0.5;

    cone.rotation.x = time * 0.4;
    cone.rotation.y = time * 0.6;

    torus.rotation.x = time * 0.6;
    torus.rotation.y = time * 0.4;

    renderer.render(scene, camera);
}

animate();

// Resize handler
window.addEventListener('resize', () => {
    camera.aspect = window.innerWidth / window.innerHeight;
    camera.updateProjectionMatrix();
    renderer.setSize(window.innerWidth, window.innerHeight);
});
When to Use Custom Geometries
You'd create custom geometries when:
You need a specific shape not available in Three.js built-ins
You're loading geometry data from external sources
You want precise control over every vertex and face
Performance matters and you need optimized shapes
Custom geometries are more work, but they give you complete control!
The Core Concept: It's All Meshes
Here's the beautiful thing I realized - every 3D object follows the same pattern:
const geometry = new THREE.SomeGeometry(parameters);
const material = new THREE.SomeMaterial({ properties });
const mesh = new THREE.Mesh(geometry, material);
scene.add(mesh);
Whether it's a built-in sphere or a custom diamond shape, the workflow is identical.
What I Learned
1. Geometry is Just Data
A geometry is really just a bunch of numbers - coordinates for vertices (points) and how they connect to form triangles. Three.js provides built-in geometries so we don't have to calculate these by hand!
2. Segments Control Smoothness
All those "segments" parameters? They control how many triangles make up the shape. More triangles = smoother curves, but worse performance. It's always a trade-off!
3. Every Shape Has Its Use Case
Spheres: Organic, round objects (planets, balls, bubbles)
Cylinders: Structural elements (pillars, cans, tubes)
Cones: Directional indicators (arrows, mountains, party hats)
Torus: Circular objects with holes (rings, hoops, tires)
4. Material Properties Make It Real
The same geometry looks entirely different with different materials. The metalness and roughness properties in MeshStandardMaterial are especially powerful for creating realistic surfaces.
5. The Mesh Pattern is Universal
Whether it's a sphere or torus, the workflow is always the same. This consistency makes Three.js easy to learn!
6. Positioning is Key
Using position.set(x, y, z) to arrange objects in your scene is crucial. I arranged mine in a row, but you can create any layout you want - stacks, circles, grids, whatever!
The key takeaway?
All geometries are just different shapes, but they work the same way. Once you understand that pattern, you can create anything!
Try building this gallery yourself and experiment with:
Changing segment counts to see the smoothness difference
Mixing different materials on the same geometries
Positioning shapes in interesting arrangements (maybe a pyramid or circle pattern?)
Animating them in different ways
Happy experimenting. 🎨